What Is the Best Way to Pack Dishes When Moving?
The best way to pack dishes when moving is to use dish pack boxes with double-walled protection, wrap each dish in packing paper, and pack plates vertically instead of flat. According to theFederal Motor Carrier Safety Administration, proper packing techniques can significantly reduce damage claims during moves.
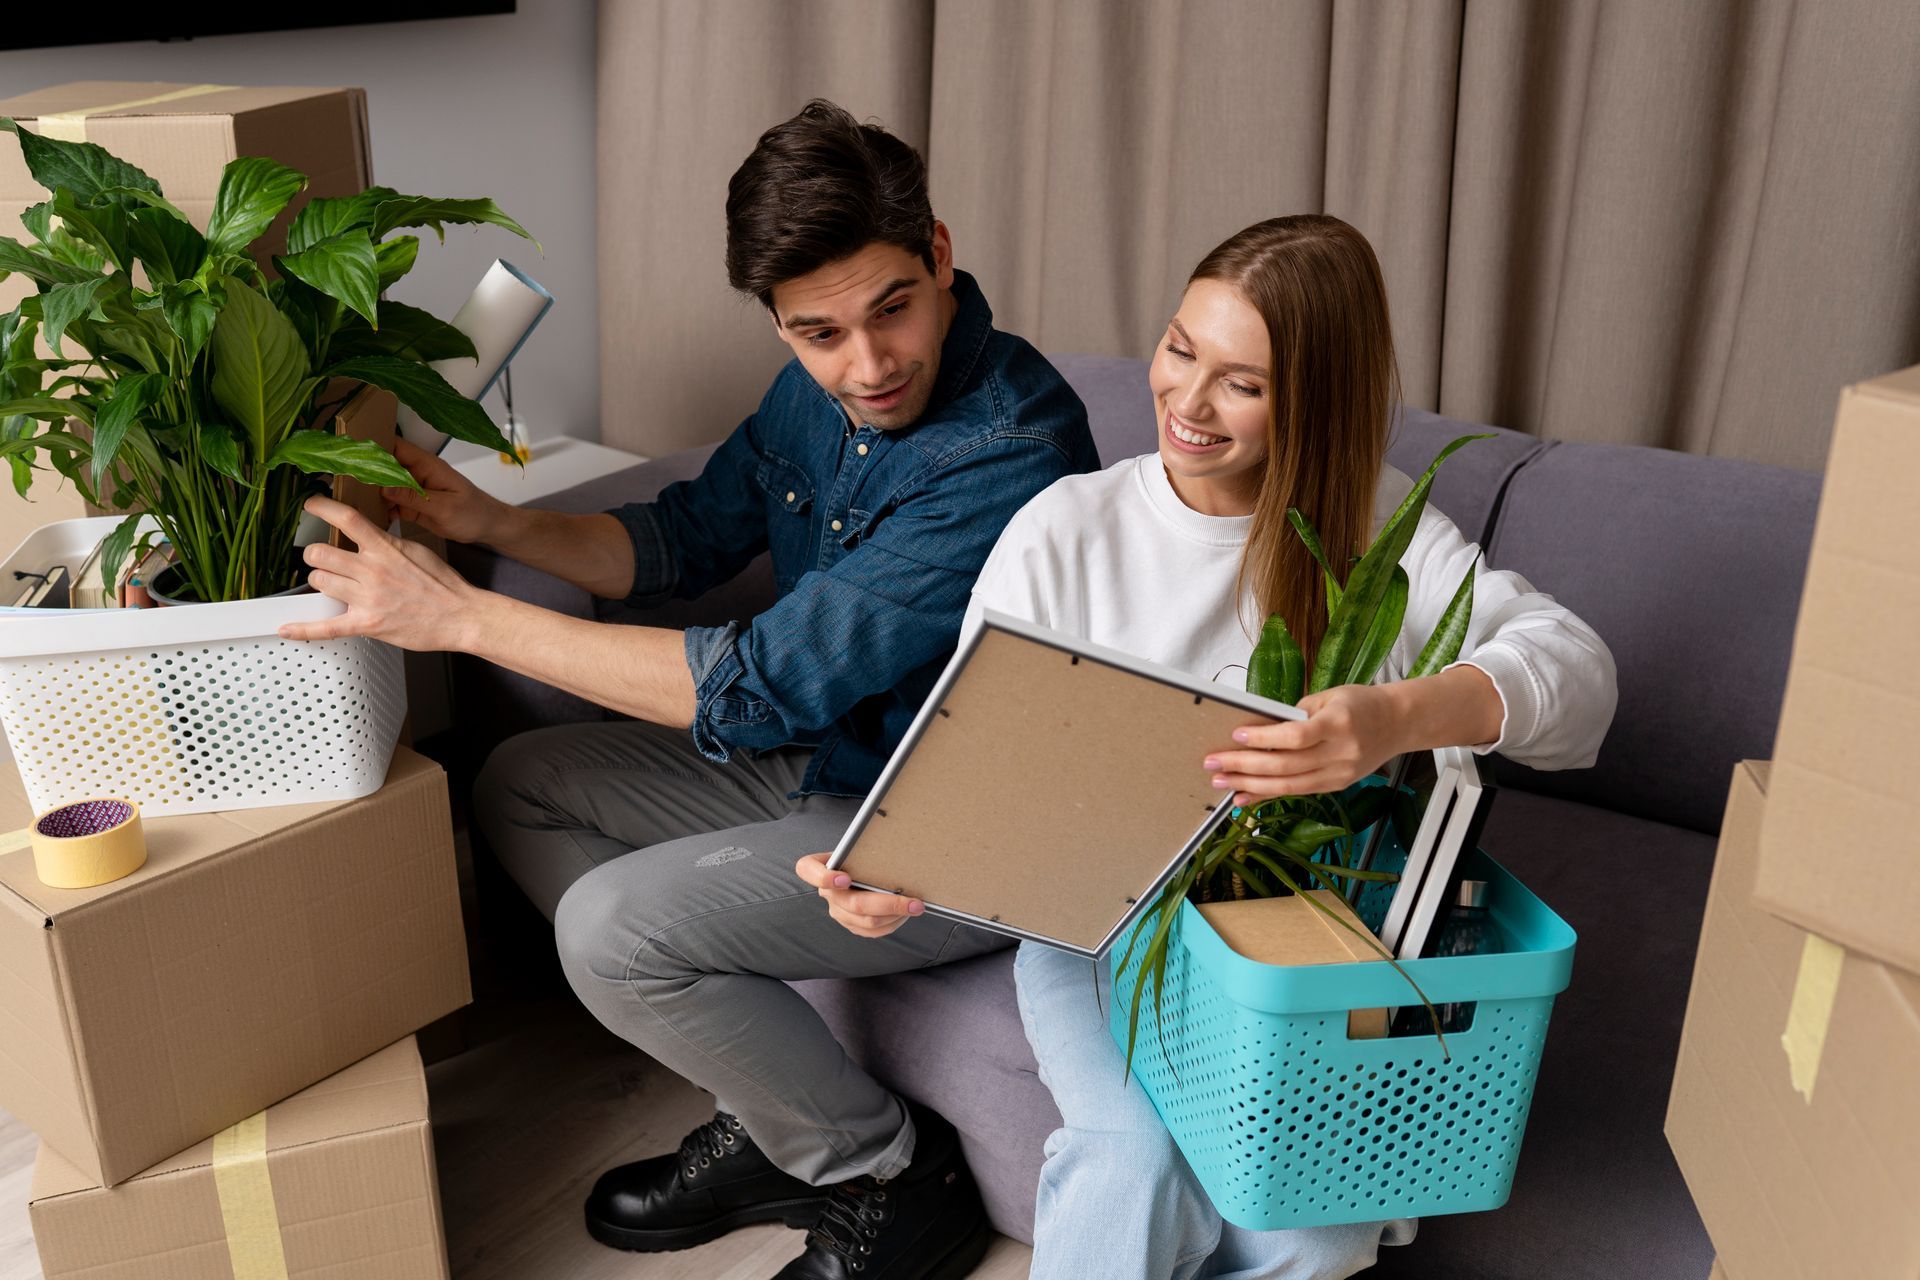
Moving day is stressful enough without worrying about your favorite coffee mug or grandmother's china arriving in pieces. This guide will show you exactly how to pack your dishes safely, what supplies you need, and simple tricks that professional movers use to keep your dishware intact during any move.
Essential Supplies You Need for Packing Dishes
Getting the right supplies is like having the right tools for any job - it makes everything easier and safer. The best moving supplies for your dishes will prevent them from becoming damaged during the move. Here's exactly what you'll need:
Dish Pack Boxes vs Regular Boxes
Dish pack boxes have walls that are twice as thick as regular boxes and are intended to provide extra protection for fragile items. Think of them as the armor for your dishes. These boxes are manufactured from strong 350# double-wall corrugated cardboard and can withstand a minimum of 350 pounds of force per square inch.
Dish Pack Box Benefits:
- Double-walled construction for extra strength
- Built-in handles for easier carrying
- Perfect size (18" x 18" x 28") for dishes
- Can hold up to 65 pounds safely
When to Use Regular Boxes:
- Light plastic dishes or melamine
- When moving very short distances
- Budget moves with extra care
Packing Materials Checklist
Paper vs Bubble Wrap: Packing paper is the more desirable medium for packing since newspaper ink smudges easily and can transfer onto items. Research fromMIT's packaging engineering studies shows that packing paper requires significantly less space and allows you to stack more items without overburdening the box. Additionally, EPA guidelines recommend using recyclable materials when possible to reduce environmental impact.
Complete Supply List:
- Dish pack boxes (or sturdy medium boxes)
- Plenty of packing paper (about 10-15 sheets per dish)
- Bubble wrap for extra fragile items
- Strong packing tape
- Markers for labeling
- Scissors or box cutter
Step-by-Step Dish Packing Method
Getting Ready to Pack
Before you start wrapping anything, set up a clean workspace on a large table or counter. Create a dedicated packing station on a clear, flat surface to make the process easier and minimize the chances of any accidental damage.
Smart Planning Tips:
- Pack dishes 2-3 days before moving
- Set aside everyday dishes for last-minute use
- Consider using paper plates during the final days
- Work room by room, starting with less-used dishes
The Professional Wrapping Technique
Lay several layers of packing paper on a flat surface. Start from a corner, wrapping diagonally and continuously tucking in the overlapping edges until the plate is completely wrapped.
For Plates and Bowls:
- Place 3-4 sheets of packing paper on your work surface
- Put the dish in the center at an angle
- Wrap diagonally, tucking edges as you go
- Add extra paper around the edges for padding
- Tape loose ends to secure
For Glasses and Mugs: Take several sheets of wrapping paper and gently stuff the interior of the glass, then place the glass on its side and roll until completely wrapped. Always pack glasses rim-up to prevent breakage.
The Box Setup Process
Bottom Protection: Create a cushioning base by layering the bottom of your dish box with crumpled packing paper or bubble wrap. Think of this as a shock absorber for your dishes.
Reinforcement:
- Use extra packing tape on the bottom seam
- Run tape in both directions for maximum strength
- Don't skimp on tape - it's cheap insurance
Smart Packing Techniques That Prevent Breakage
The Vertical Packing Method
Here's a game-changer: Always pack plates on their edge (vertically). This method provides better shock absorption and reduces the risk of breakage during transport. It might seem backwards, but physics is on your side here.
Why Vertical Works Better:
- Plates are strongest along their edges
- Weight distributes more evenly
- Less pressure on individual dishes
- Easier to unpack without damage
Layer Strategy
Heavy to Light Rule: Pack items like glass plates or large china serving pieces first so that they're at the bottom of the box. Then work your way up to lighter items.
Proper Layering:
- Bottom: Dinner plates and heavy bowls
- Middle: Salad plates and medium bowls
- Top: Cups, saucers, and lightweight items
Fill Every Gap
Fill any remaining gaps or voids with crumpled paper, soft cloths, or bubble wrap. This crucial step prevents movement during transit. Empty space is your enemy - it lets dishes bang against each other.
Smart Gap Fillers:
- Crumpled packing paper
- Clean dish towels (you need to pack them anyway!)
- Socks and washcloths
- Small bubble wrap pieces
Special Items Need Special Care
Fine China and Delicate Pieces
Fine china should always be packed using sheets of clean packing paper as antique glazes can react unpredictably with newsprint ink. For your most precious pieces, consider double-boxing - putting the packed box inside a larger box with extra padding.
China Packing Steps:
- Wrap each piece in 5-6 sheets of packing paper
- Use cell dividers or make compartments
- Add extra padding around handles and spouts
- Label box "FRAGILE CHINA - THIS END UP"
Glasses and Stemware
For best protection, fill the hollows of glasses with crumpled pieces of packing paper, then wrap the glasses in protective material. Stemware needs even more care.
Stemware Protection:
- Stuff paper inside the bowl of the glass
- Wrap stem separately with extra padding
- Consider using specialized stemware boxes
- Never pack glasses upside down
Large Serving Pieces
Platters, serving bowls, and casserole dishes need extra attention. Wrap them individually and consider using towels or blankets for additional cushioning. These items often have odd shapes that create pressure points.
Loading and Moving Your Packed Dishes
Box Weight Management
Try to keep box weights under 40 pounds. TheBureau of Labor Statistics reports that lifting injuries are among the most common workplace accidents, and boxes that are too heavy are more likely to be dropped. A good rule: if you can't lift it comfortably, it's too heavy.
Weight Distribution Tips:
- Test lift each box before sealing
- Use smaller boxes for heavy dishes
- Balance light and heavy items
- Ask for help with heavy boxes
Labeling for Success
Clearly label the box on multiple sides with the words "FRAGILE – DISHES" and add an arrow pointing upwards with the words "THIS END UP". Don't be shy with labels - they're your dishes' best friend.
Smart Labeling System:
- Write "FRAGILE" in large, clear letters
- Add "THIS END UP" arrows
- List contents (Kitchen - Everyday Dishes)
- Mark destination room
- Use bright colored markers
In the Moving Truck
Place dish boxes in a secure spot where they won't slide around. Carefully load dish boxes into the moving truck and avoid stacking other heavy items on top of them.
Professional vs DIY: Making the Right Choice
When to Hire Professional Packers
Professional packers will have insurance coverage for the items they pack, ensuring that if damage does occur, the item can easily be replaced. Consider professionals if you have:
- Extensive fine china collections
- Very valuable dishware
- Limited time for packing
- Physical limitations
Professional Packing Benefits:
- Insurance coverage included
- Specialized materials and techniques
- Time savings
- Experience with fragile items
If you're in the Edmonton area,Last Stop Moving's packing services can handle your dishes with expert care, using professional-grade materials and techniques.
DIY Success Tips
Packing dishes yourself can be rewarding and cost-effective. By taking the time to carefully pack your dishes with ample cushioning and strategic placement, you can significantly reduce the risk of breakage during your move.
Keys to DIY Success:
- Start early (don't rush)
- Invest in quality supplies
- Follow professional techniques
- Test your packing method with less valuable items first
Common Mistakes That Lead to Broken Dishes
Packing Errors to Avoid
The biggest moving crime is that plates are often placed in boxes without enough packing paper. You don't want to hear the dishes rattle in the box! If your box sounds like a maraca, you need more padding.
Top Packing Mistakes:
- Using too little packing paper
- Packing plates flat instead of vertically
- Overpacking boxes (making them too heavy)
- Skipping the bottom cushioning layer
- Not filling empty spaces
Material Mistakes
Skimping on your cushioning material risks chips and cracks during transit. Don't try to save money on packing paper - it's much cheaper than replacing broken dishes.
Supply Shortcuts to Avoid:
- Using newspaper without testing for ink transfer
- Reusing damaged boxes
- Insufficient packing tape
- Wrong box sizes
Eco-Friendly Dish Packing Options
Sustainable Materials
Traditional packing materials can have a significant environmental impact. According toNational Geographic research, bubble wrap takes up to 1,000 years to decompose. Consider these green alternatives:
Eco-Friendly Options:
- Clean towels and linens for wrapping
- Your own clothing as padding
- Recyclable packing paper
- Reusable dish dividers
Reducing Waste
After your move, don't throw away your packing materials. Post the used boxes on Craigslist or Facebook Marketplace to get a little cash back and get rid of the boxes without wasting.
Unpacking Your Dishes Safely
Setting Up Your Unpacking Station
Set up an unpacking station similar to the packing station you started with. Be organized about where you place your packing materials to save on clean-up time.
Unpacking Best Practices:
- Clear a large workspace
- Have a trash bag ready for packing materials
- Inspect each item as you unwrap it
- Save good boxes for storage or future moves
Dealing with Damage
If you do find broken dishes, document everything with photos before cleaning up. This helps with insurance claims if you usedprofessional movers or have moving insurance.
Cost Breakdown: Supplies vs Professional Packing
DIY Costs
For a typical kitchen with 50-75 pieces of dishware:
- Dish pack boxes (3-4 boxes): $8-12
- Packing paper (10 lbs): $15-20
- Bubble wrap: $10-15
- Tape and markers: $5-10
- Total DIY cost: $38-57
Professional Packing Investment
Professional packing service typically costs 15-20% of your total moving expense, but the investment saves thousands in potential replacement costs for damaged items and in time savings.
Value Comparison:
- Professional packing: $200-400 for kitchen
- Risk of damage with DIY: 5-15%
- Risk with professionals: 1-3%
- Average dish replacement cost: $500-2000+
When to Use Special Packing Services
Long-Distance Moves
When packing china and other fragile items for a long-distance move, United recommends using a dish pack. The longer your dishes are in transit, the more opportunities for damage.
Long-Distance Considerations:
- Multiple handling points
- Temperature changes
- Longer time in storage
- More road vibration
Storage Situations
If you plan on storing items for a long time, dish pack boxes are worth it. The long-term wear and tear of storing can weaken regular cardboard boxes.
Final Thoughts
Packing dishes doesn't have to be scary when you know the right techniques. The secret is simple: use proper supplies, wrap everything individually, pack plates vertically, and fill every empty space. TheSurface Transportation Board notes that most household goods damage during moves is preventable with proper packing techniques, but following these professional methods can reduce your dish breakage to nearly zero.
Remember, a little extra time and care during packing saves money, stress, and heartbreak later. Whether you choose to pack yourself or hire professionals likeLast Stop Moving, your dishes can arrive safely at your new home ready for your first meal in your new space.
Ready to start your move? Check out ourmoving checklist to make sure you don't miss any important steps, or get a quote fromEdmonton's trusted movers who understand how to handle your belongings with care.